Welcome to the Diaper Genie Instruction Manual! This comprehensive guide provides essential information to help you understand, assemble, and maintain your Diaper Genie effectively for optimal performance.
What is a Diaper Genie?
A Diaper Genie is a convenient and hygienic diaper disposal system designed to make managing soiled diapers easier for parents and caregivers. It is a popular solution for keeping nurseries and homes clean by containing odors and waste effectively. The system works by sealing soiled diapers in odor-controlling bags, reducing unpleasant smells and mess. This innovative product is especially useful for families with infants or young children, offering a practical way to handle diaper waste without frequent trips to the trash. By keeping waste contained, it helps maintain a cleaner and fresher environment, making it a must-have for modern parenting.
Benefits of Using a Diaper Genie
Using a Diaper Genie offers numerous benefits, making it an essential tool for parents and caregivers. It provides convenient disposal of soiled diapers, keeping your home clean and odor-free. The system is hygienic, reducing the risk of bacterial spread and unpleasant smells. It also saves time by eliminating frequent trips to the trash. Additionally, the Diaper Genie is cost-effective, as it uses specialized bags that prevent waste from spreading, reducing the need for multiple trash bags. Its compact design fits seamlessly into any nursery or bathroom, making it a practical and efficient solution for managing diaper waste.
Product Components and Accessories
Your Diaper Genie includes a main unit, odor-absorbing filter, and refill bags. Additional accessories like replacement filters and bag refills are available for optimal performance and convenience.
Key Components of the Diaper Genie
The Diaper Genie consists of several essential parts designed for efficient diaper disposal. The main unit houses the internal mechanism, while the odor-absorbing filter minimizes unpleasant smells. The refill bags are specifically designed to contain waste securely. Additionally, the cutter allows for easy bag tying, and the lid ensures a tight seal to prevent odor escape. The pedal enables hands-free operation, making it convenient for parents. These components work together to provide a hygienic and user-friendly solution for diaper disposal, ensuring longevity and effectiveness of the product. Proper understanding of these parts is crucial for optimal functionality and maintenance.
Accessories You May Need
To enhance your Diaper Genie experience, consider these essential accessories. Refill bags are a must for continuous use, ensuring waste is contained securely. A carbon filter can be added to further reduce odors. For maintenance, a cleaning kit helps keep the unit hygienic. Additionally, a diaper cream or wipes can be handy for quick cleanups. Some users also find a small brush useful for dusting or cleaning hard-to-reach areas. These accessories complement the Diaper Genie’s functionality, making it a more convenient and effective solution for managing diapers. Always ensure accessories are compatible with your specific model for optimal performance.
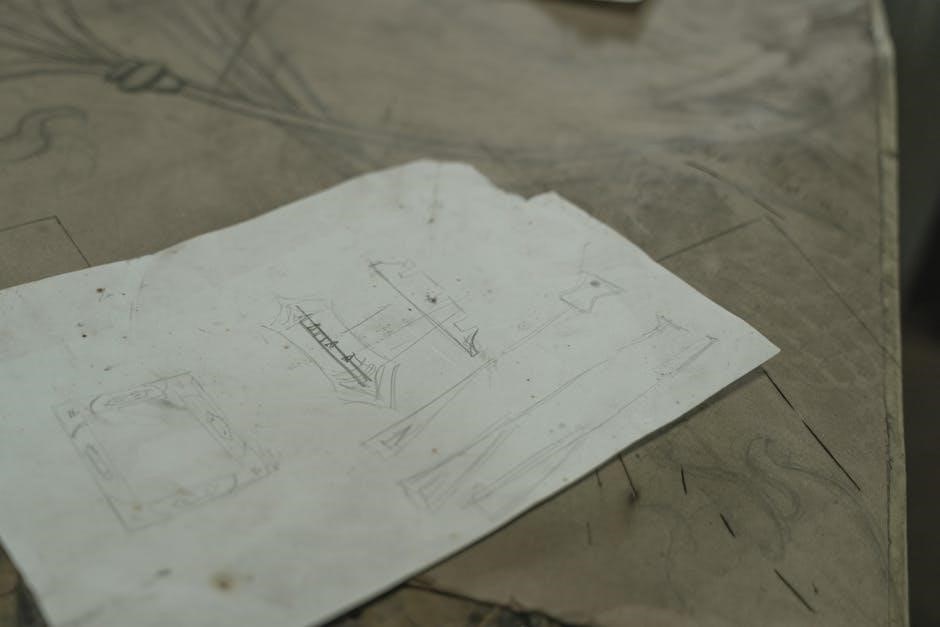
Understanding the Parts Diagram
The parts diagram in your Diaper Genie manual is a visual guide to help you identify and understand each component. It typically includes labeled illustrations of the lid, canister, pedal, filter, and waste bag holder. This diagram is essential for assembly, troubleshooting, and maintenance. By referencing it, you can locate parts easily and ensure proper installation. Pay attention to details like alignment markers or connection points to avoid errors. Familiarizing yourself with the diagram will make using and maintaining your Diaper Genie more efficient. Always refer to it if you’re unsure about a specific part’s function or placement.
Assembly and Installation
Assembly and installation of your Diaper Genie are straightforward processes outlined in this section. Follow the step-by-step guide to ensure proper setup and functionality for long-term use.
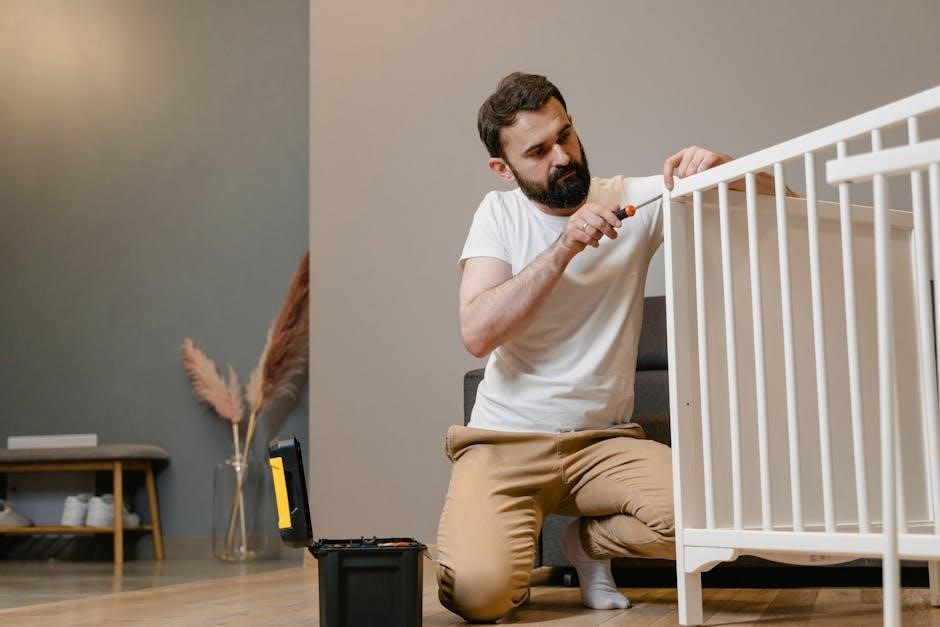
Step-by-Step Assembly Instructions
Begin by unpacking all components, including the main unit, lid, and accessories. Place the Diaper Genie on a flat, stable surface. Attach the pedal to the base using the provided screws. Next, align the lid with the main unit and secure it tightly. Install the filter by removing the adhesive backing and pressing it firmly inside the lid. Finally, thread the bag through the opening and tie a knot at the end. Ensure all parts are properly aligned and tightened for optimal performance. Refer to the parts diagram for visual guidance. Once assembled, your Diaper Genie is ready for use.
How to Install the Diaper Genie
Position the Diaper Genie in a convenient location, ideally in the nursery or bathroom, ensuring easy access. Place it on a stable, flat surface to prevent tipping. If installing on a carpeted floor, consider using the optional anti-slip mat for added stability. Ensure the unit is level to maintain proper function. If desired, secure the Diaper Genie to the floor using the provided wall anchors to prevent accidental movement. Position it away from direct sunlight and moisture to avoid damage. Once placed, double-check that all parts are securely attached and the lid opens smoothly. Your Diaper Genie is now ready for daily use.
Troubleshooting Common Assembly Issues
If you encounter difficulties during assembly, check for misaligned parts or loose connections. Ensure all clips and locks are securely fastened. If the lid doesn’t close properly, verify that the hinge pins are correctly aligned. For issues with the bag installation, make sure the bag is properly threaded through the designated slot and sealed tightly. If the odor-controlling filter isn’t fitting, consult the parts diagram to confirm correct placement. If problems persist, refer to the troubleshooting section or contact customer support for assistance. Proper assembly is crucial for optimal performance and odor control.

Operating the Diaper Genie
Press the foot pedal to open the lid, deposit the diaper, and seal it by turning the handle. This locks in odors and keeps your nursery fresh.

Basic Operation and Usage
Using your Diaper Genie is straightforward and efficient. Start by pressing the foot pedal to open the lid hands-free. Carefully place the soiled diaper inside the opening. After depositing the diaper, turn the handle to seal it in the bag. This action locks in odors and prevents them from escaping. For optimal performance, ensure the bag is properly aligned and the lid closes tightly after each use. Regularly check the bag level and replace it when full to maintain hygiene and effectiveness. By following these simple steps, you can keep your nursery clean and odor-free with minimal effort.
How to Change the Diaper Genie Bag
To change the Diaper Genie bag, start by pressing the foot pedal to open the lid. Pull the bag downwards, twisting it to seal the top. Tie the bag securely to prevent leaks. Remove the full bag and dispose of it in your trash. Take a new bag from the refill and attach it to the Diaper Genie by threading it through the opening. Ensure the bag is properly aligned and the lid closes tightly. This process keeps your nursery clean and odor-free. Always use genuine Diaper Genie refills for the best performance and odor control. Regular bag changes are essential for maintaining hygiene and effectiveness.
Odor Control and Maintenance Tips
Regularly changing the bag and emptying the pail is essential for odor control. Use genuine Diaper Genie refills, as they are designed to lock in odors effectively. After each use, ensure the lid is tightly closed to prevent smells from escaping. Clean the pail with a mild detergent and warm water weekly to remove residue. Sprinkle baking soda inside the pail to absorb odors naturally. Replace the carbon filter every 1-2 months to maintain freshness. For extra protection, place the Diaper Genie in a well-ventilated area. By following these tips, you can keep your nursery fresh and odor-free, ensuring a clean environment for your baby.

Maintenance and Cleaning
Regularly clean the Diaper Genie with mild detergent and warm water to prevent residue buildup. Check for wear and tear to ensure optimal performance and hygiene.

Regular Cleaning Schedule
To maintain your Diaper Genie’s performance and hygiene, follow a regular cleaning schedule. Daily: Wipe the lid, handle, and exterior with a damp cloth after use. Weekly: Check for odor buildup and sprinkle baking soda inside. Monthly: Disassemble the diaper holder and wash with mild detergent. Always rinse thoroughly and dry before reassembling. Regular cleaning prevents bacterial growth and keeps the Diaper Genie odor-free. Avoid using harsh chemicals, as they may damage the materials. By following this schedule, you ensure optimal functionality and a fresh environment for your baby.
How to Replace the Filter
To replace the filter in your Diaper Genie, start by turning it off and unplugging it for safety. Locate the filter compartment, usually found near the top or side, and open the lid or remove the panel. Gently pull out the old filter, taking care to avoid touching any soiled areas. Insert the new filter into the holder, ensuring it is securely fastened. Close the compartment and plug in the Diaper Genie to test its operation. For optimal performance, check and replace the filter periodically as recommended by the manufacturer. Regular filter replacement helps maintain odor control and overall functionality.
Disposing of Waste Properly
Proper disposal of waste is essential for maintaining hygiene and preventing odors. Always empty the Diaper Genie when the bin is full or when you notice unpleasant smells. Use the cutter to tie the bag securely before removing it from the unit. Dispose of the bag in an outdoor trash can with a tight-fitting lid to prevent pests and odors from spreading. Avoid leaving soiled diapers or bags in indoor trash cans for extended periods. Regularly cleaning the Diaper Genie and replacing the filter will also help reduce odor issues. Follow local waste disposal guidelines for diapers and hygiene products to ensure environmental responsibility.
Safety Precautions
Ensure the Diaper Genie is placed on a stable surface, out of children’s and pets’ reach. Regularly inspect for damage and avoid modifications. Follow all safety guidelines to prevent accidents and maintain a hygienic environment.
General Safety Guidelines
Always place the Diaper Genie on a stable, flat surface to prevent tipping. Keep it out of reach of children and pets to avoid accidental tampering. Regularly inspect the unit for damage or wear and ensure all parts are securely fastened. Never leave soiled diapers exposed, as this can attract pests and create unpleasant odors. Wash hands thoroughly after handling the Diaper Genie or its contents. Avoid modifying the product, as this may compromise its safety and functionality. Follow all manufacturer instructions for assembly, maintenance, and disposal to ensure safe and effective use.
Safety for Homes with Pets or Multiple Children
In homes with pets or multiple children, ensure the Diaper Genie is securely placed out of reach to prevent tampering or accidental opening. Use child safety locks if available to keep curious hands from accessing the unit. Regularly monitor children to avoid any potential mishaps. Keep the area around the Diaper Genie clean to prevent attracting pests, which may draw pets or children. Always store replacement bags and accessories in a safe location to avoid choking hazards. By taking these precautions, you can create a safer environment while maintaining the convenience and hygiene of your Diaper Genie.
Emergency Procedures
In case of an emergency, such as a severe odor leak or the Diaper Genie malfunctioning, follow these steps:
- Contain the issue: If there’s an odor leak, immediately close the lid and ensure the bag is securely tied.
- Stop usage: Avoid using the Diaper Genie until the problem is resolved to prevent further damage or mess.
- Ventilate the area: Open windows to reduce odor exposure and improve air quality.
- Contact support: Reach out to customer service for professional assistance if the issue persists.
Always prioritize safety and hygiene to prevent potential health risks. For detailed troubleshooting, refer to the Troubleshooting Common Issues section.
Troubleshooting Common Issues
Identify and resolve common issues with your Diaper Genie by checking for proper assembly, bag installation, and filter condition. Refer to the user manual for detailed solutions.
Most Common Problems and Solutions
Experiencing issues with your Diaper Genie? Common problems include odor leaks, difficulty closing the lid, or the foot pedal not functioning. For odor leaks, ensure the lid is tightly sealed and the filter is replaced regularly. If the lid is stubborn, check for blockages or misaligned parts. For pedal issues, inspect for debris or damage. Always refer to the user manual for step-by-step solutions. Regular maintenance, such as cleaning and replacing worn components, can prevent many of these problems. If issues persist, contact customer support for assistance.
Diagnosing and Fixing Odor Leaks
Odor leaks are a common issue with the Diaper Genie, often caused by an unsealed lid, overfilled bag, or worn-out filter. To diagnose, inspect the lid for proper alignment and ensure it clicks securely. Check the bag for tears or overfilling, as this can allow odors to escape. If the filter is dirty or expired, replace it immediately. For persistent leaks, clean the interior thoroughly and ensure all parts are tightly fitted. Regularly changing the bag and filter can prevent odor issues. Always refer to the manual for specific guidance on maintaining a odor-free environment with your Diaper Genie.
What to Do If the Diaper Genie Stops Working
If your Diaper Genie stops functioning, start by checking the bag for overfilling, as this can prevent the mechanism from operating. Ensure the lid is fully closed and aligned properly. Inspect the pedal and hinges for blockages or dirt buildup, and clean them gently if necessary. If the issue persists, check for jammed parts or worn components, such as the gear or spring, and replace them if needed. Resetting the unit by removing and reattaching the bag may also resolve the problem. If none of these steps work, contact customer support for further assistance or potential replacement under warranty.

Warranty and Customer Support
Your Diaper Genie is backed by a limited warranty covering manufacturing defects for a specified period. For inquiries or issues, contact customer support via phone, email, or the official website for assistance.
Understanding Your Warranty
Your Diaper Genie is protected by a limited warranty that covers manufacturing defects for a specified period from the date of purchase. This warranty ensures that any defective parts will be repaired or replaced free of charge, provided the product has been used as intended and maintained properly. Coverage details can be found in the warranty section of this manual. Exclusions may apply for misuse, tampering, or normal wear and tear. To validate your warranty, register your product on the official website or contact customer support. Keep your purchase receipt as proof of ownership, as it may be required for warranty claims.
How to Contact Customer Support
For assistance with your Diaper Genie, contact our dedicated customer support team through multiple convenient channels. Phone support is available Monday-Friday, 9 AM-5 PM EST, at 1-800-DIAPER-1. You can also reach us via email at support@diapergenie.com or through the live chat feature on our official website. Visit www.diapergenie.com/support for additional resources, FAQs, and troubleshooting guides. When contacting us, have your product serial number and purchase details ready to expedite your request. Our team is committed to resolving your inquiries promptly and efficiently, ensuring your Diaper Genie experience remains hassle-free.
Additional Resources and FAQs
For further assistance, visit our official website at www.diapergenie.com for a wealth of resources, including video tutorials, downloadable PDF guides, and a detailed FAQ section. Our FAQs address common questions about assembly, maintenance, and troubleshooting. Topics include tips for odor control, filter replacement, and resolving operational issues. You can also find helpful troubleshooting guides and maintenance schedules to keep your Diaper Genie performing optimally. If you can’t find the answer to your question, our customer support team is ready to help. Explore these resources to maximize your Diaper Genie experience and ensure longevity of the product.